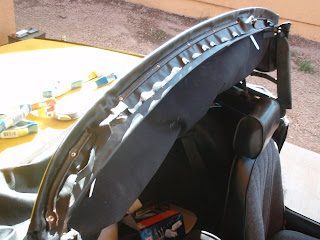
The first step was to attach the back of the top to the rear bracket. After 3 small rivets and some glue, the back seemed to hold pretty well.

The rear bracket is attached to the car with two bolts. Once those were in place I pulled the new top over the frame.

The top is attached to the middle supports by snaps. Now this is how all car parts should be installed!

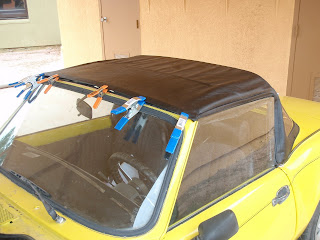
The next step was to lock down the frame and stretch / clip the new top in place. According to the instructions, I needed to stretch and reclip several times a day for three days.
Day 1...

Day 2...

Day 3...

Our cat Bailey likes the new top...

Things are looking pretty tight. It's time to get this thing on permanently.

We folded back the top and prepared the area starting with the center. My wife and I drilled holes through the fabric for the rivets, applied glue across the area, then riveted the center strip in place.

My help: a hot young blonde holding a rivet gun in a car. Nice. :-)

We repeated the process for the side strips...

And then trimmed off the excess...

The last step was to snap the rear corners of the top to the car.
The final product!

Checking out the rear...

Quite an improvement over the old one...

And now time to stare at the car for a hour.

That really is a sweet ride. (My disclaimer... I do not recommend anyone using my steps to install their new convertible top. What I said above about doing half the instructions, yeah that was an exaggeration, I did like a quarter of them...)
No comments:
Post a Comment